Steam Deck: Guide to Playing Game Boy Games
Quick Links
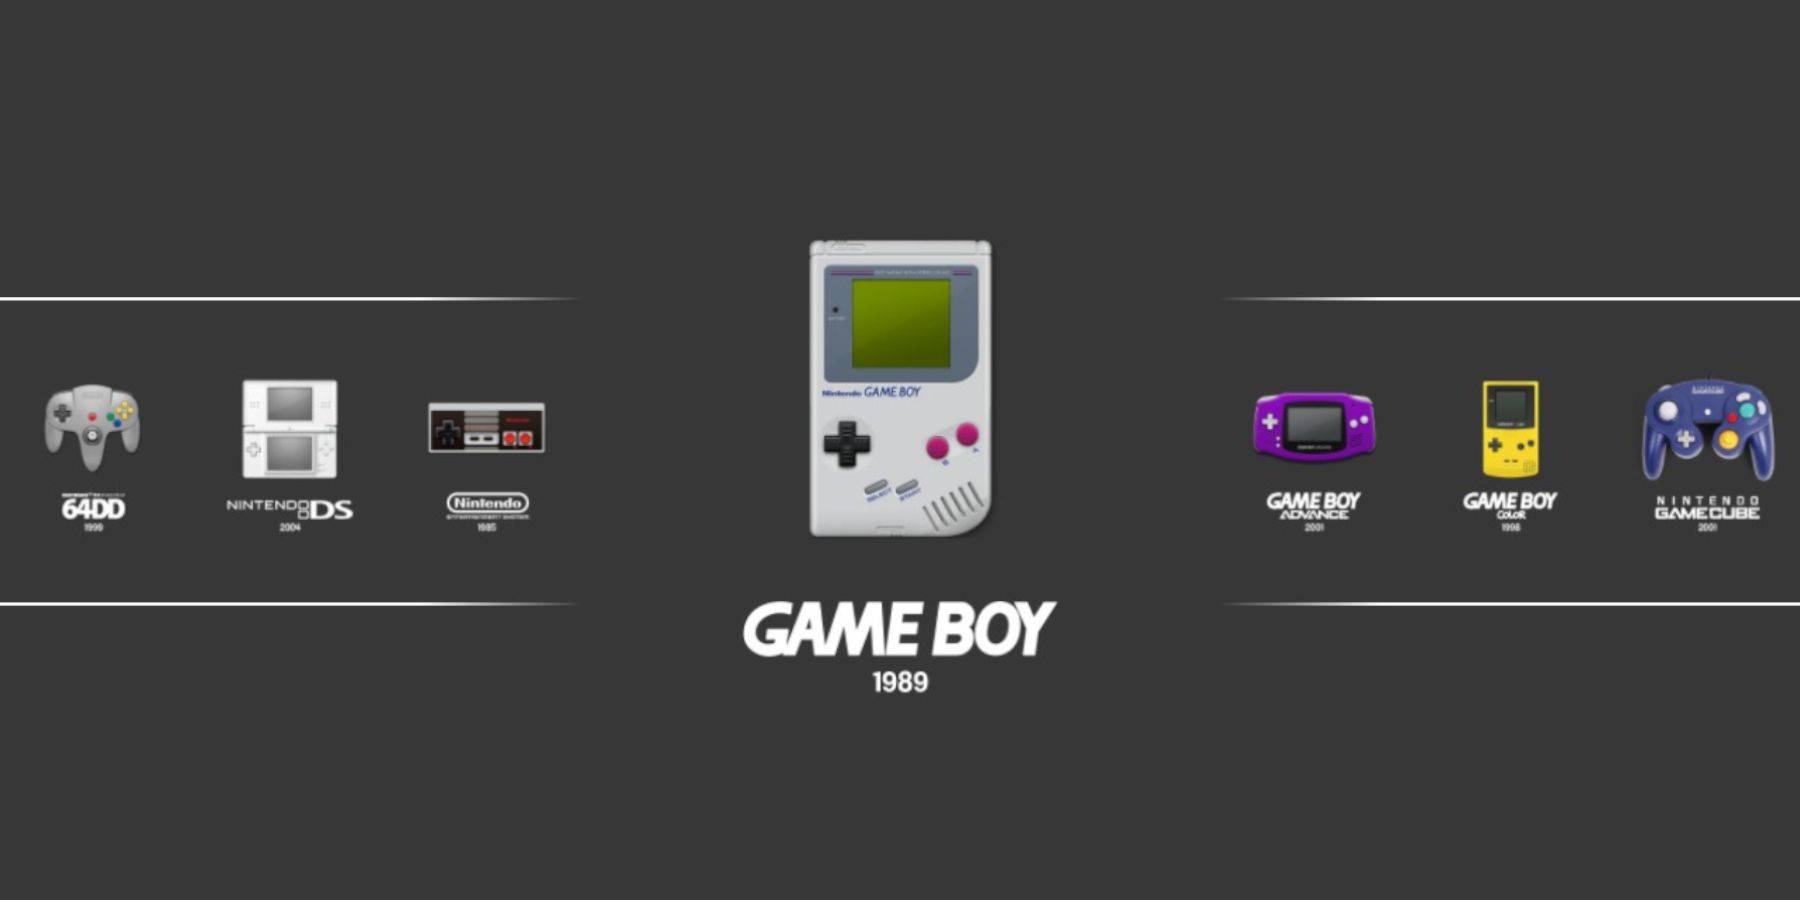
The Steam Deck is a versatile device capable of running modern games while also offering extensive customization options, making it perfect for retro gaming enthusiasts. With EmuDeck, you can transform your Steam Deck into an ideal platform for playing classic Game Boy games. The beauty of these older games lies in their craftsmanship, despite the limited color palette of the original Game Boy. Here’s a detailed guide on how to install EmuDeck and enjoy Game Boy games on your Steam Deck.
Updated January 13, 2024, by Michael Llewellyn: Game Boy games require minimal power to run on the Steam Deck, but to ensure optimal emulation, installing Decky Loader and the Power Tools plugin is recommended. These tools help control SMTs and other settings to enhance performance. This guide now includes steps for installing Decky Loader and Power Tools, as well as instructions for restoring Decky Loader after a Steam Deck update.
Before Installing EmuDeck
 Before you begin installing EmuDeck, ensure you have the following essentials for running emulators and storing your favorite Game Boy games:
- A fully charged Steam Deck.
- An A2 microSD card for installing games and emulators.
 - Legally obtained Game Boy ROMs.
- A Bluetooth keyboard and mouse for browsing and transferring ROMs, or a wired set if you're using a Steam Deck docking system.
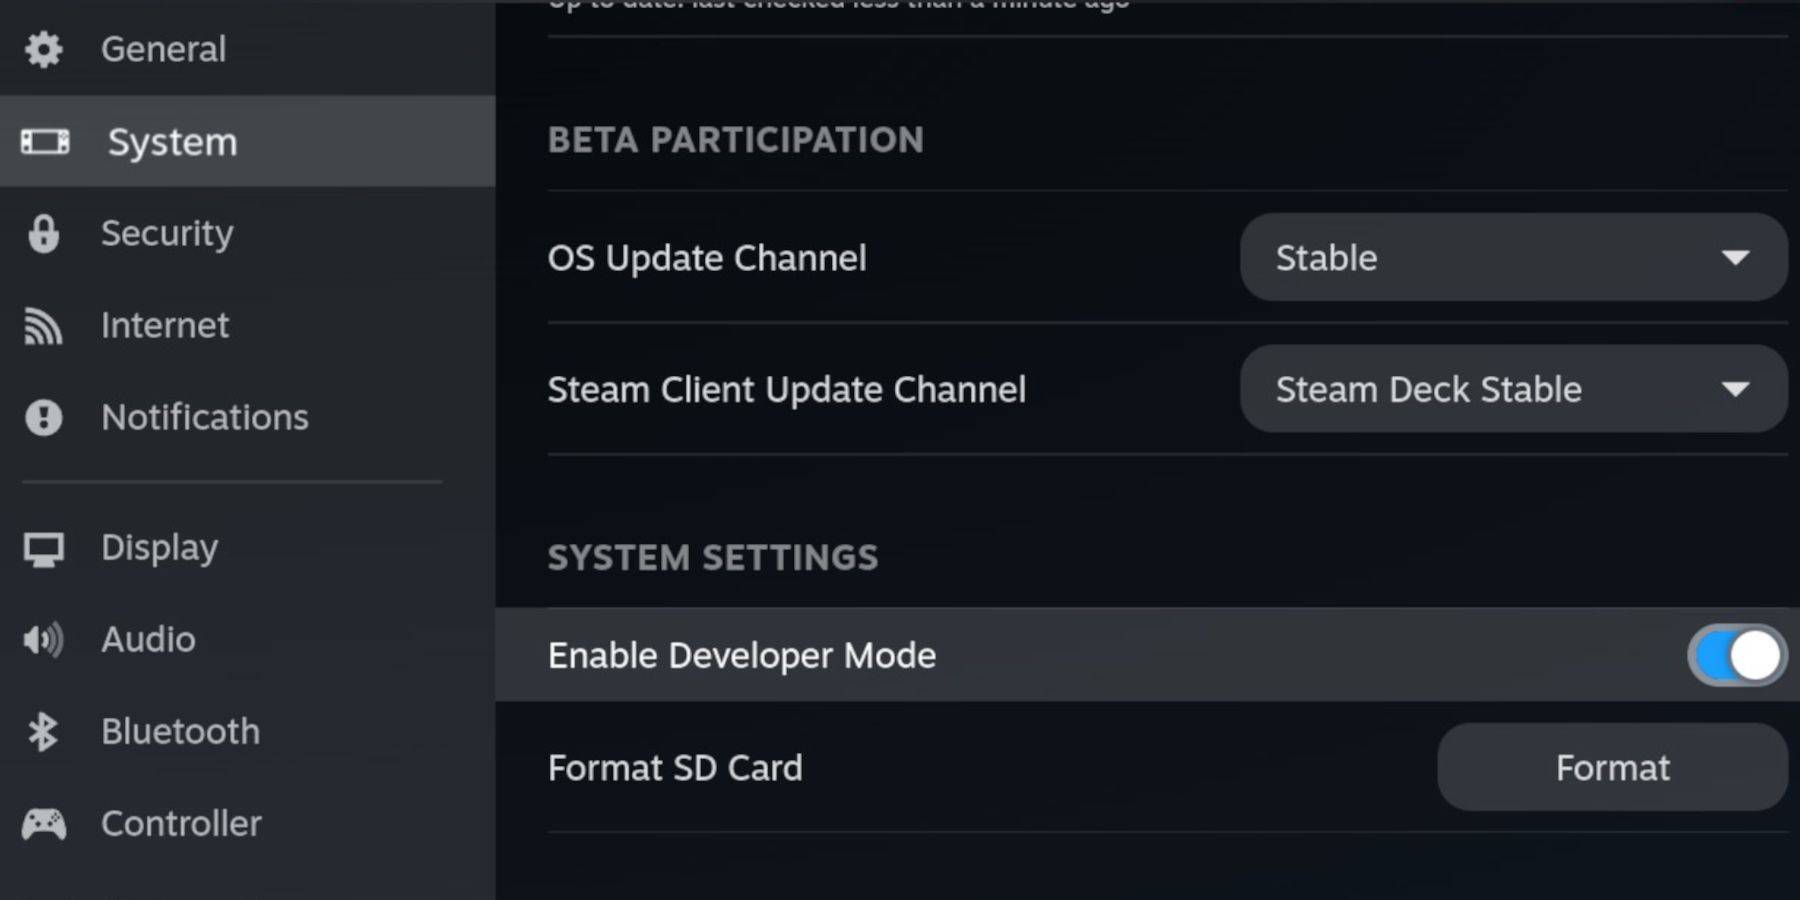
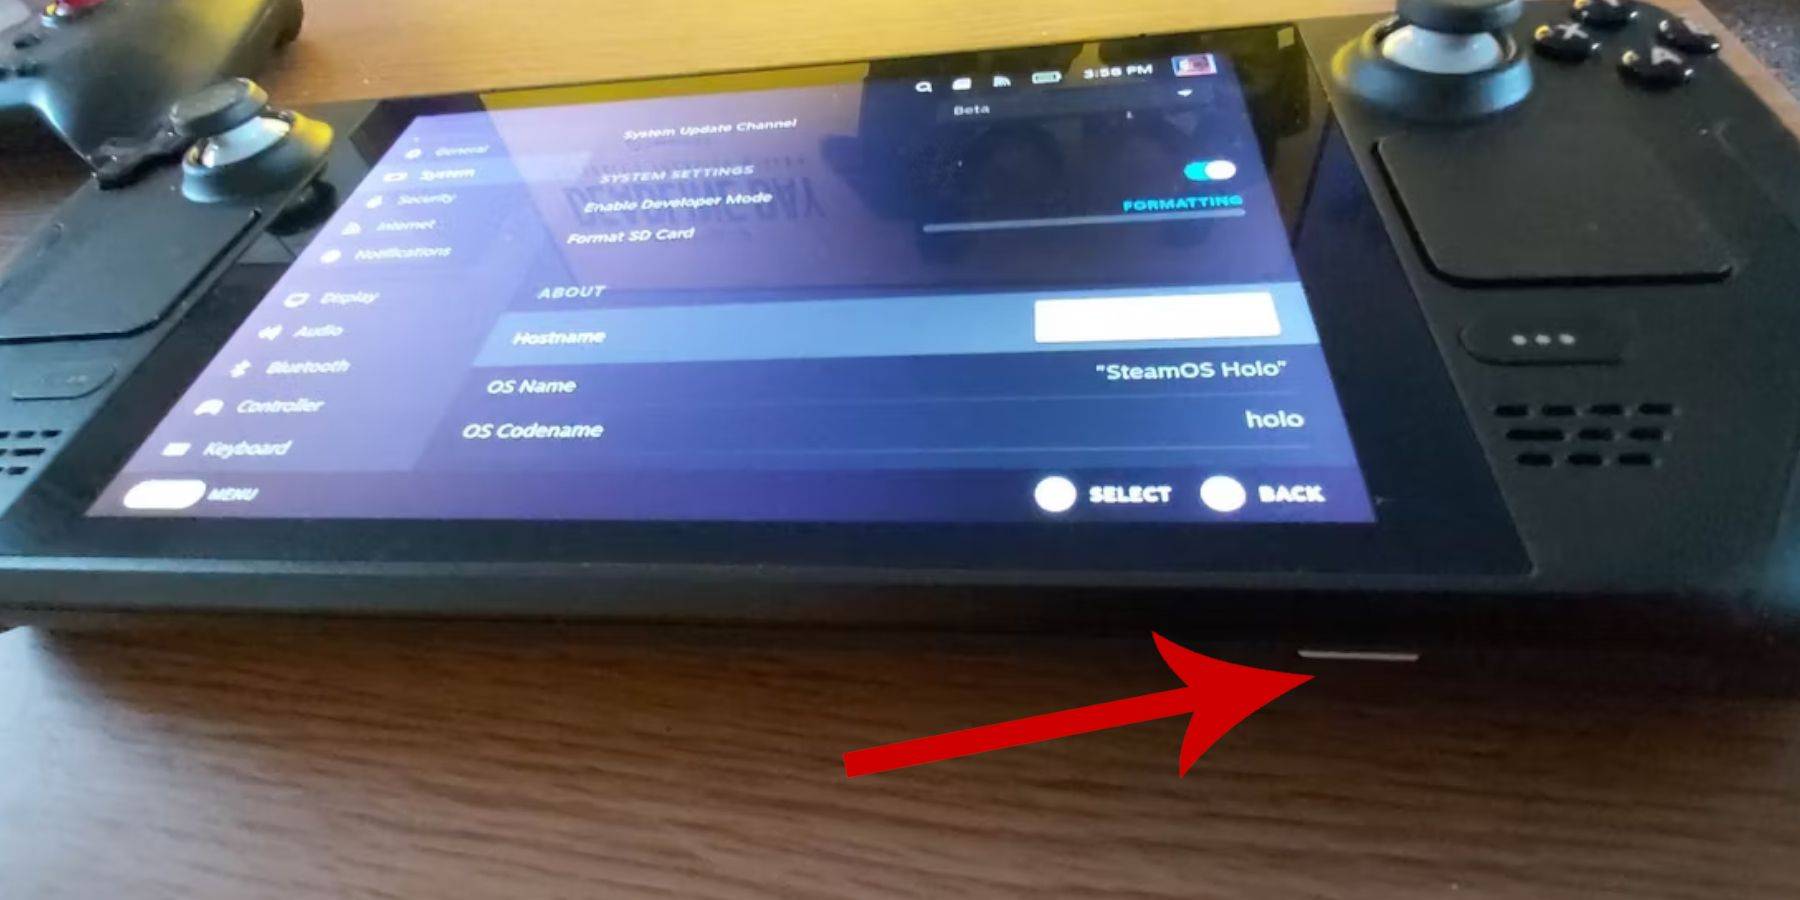
Change Developer Mode
To prepare your Steam Deck for EmuDeck installation:
- Press the Steam button.
- Navigate to the System menu and toggle Developer Mode on.
- In the Developer menu, enable CEF Debugging.
- Select the Power option.
- Choose Switch to Desktop Mode.
Download EmuDeck In Desktop Mode
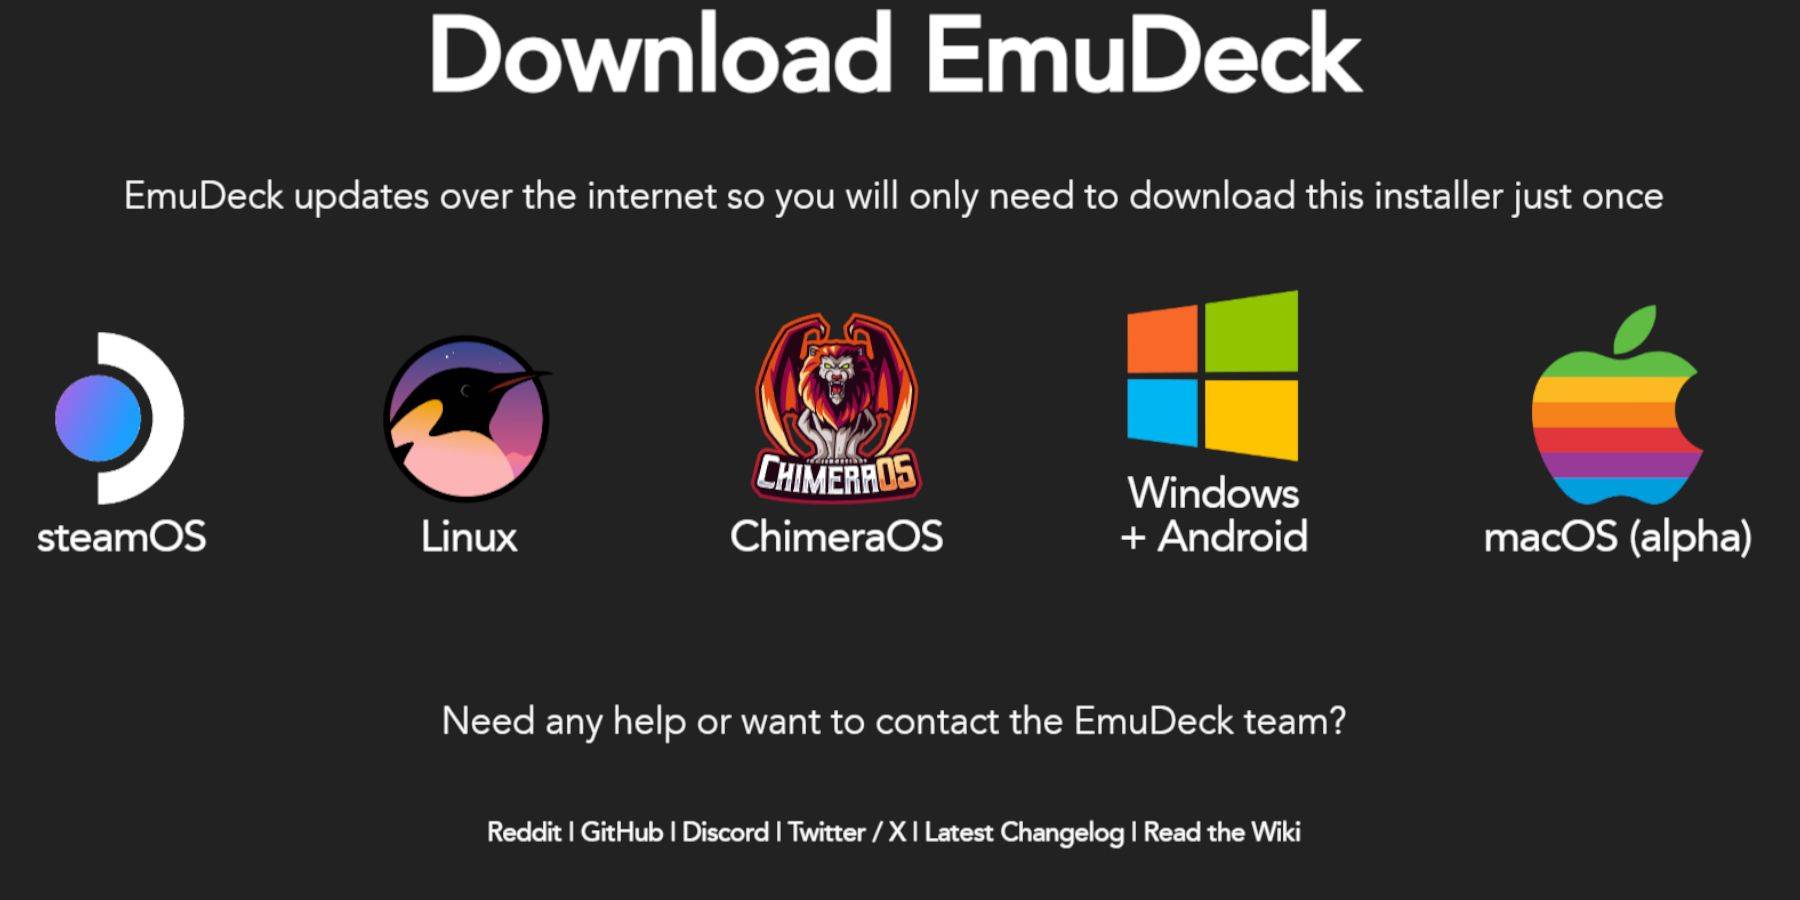 Once in Desktop Mode:
- Connect your keyboard and mouse.
- Launch a browser like DuckDuckGo or Mozilla Firefox and navigate to the EmuDeck download page.
- Click "Download" at the top-right of the page, then select "Steam OS" and "Download for Free."
- Opt for "Recommended Settings" and proceed to "Custom Install."
- From the EmuDeck menu, choose the SD card image labeled "Primary."
- You can opt to install all emulators or select RetroArch, Emulation Station, and Steam ROM Manager, then click "Continue."
- Enable Auto Save.
- Skip through the subsequent screens and select "Finish" to complete the installation.
Quick Settings
To set up your EmuDeck preferences:
- Open the EmuDeck program and navigate to Quick Settings.
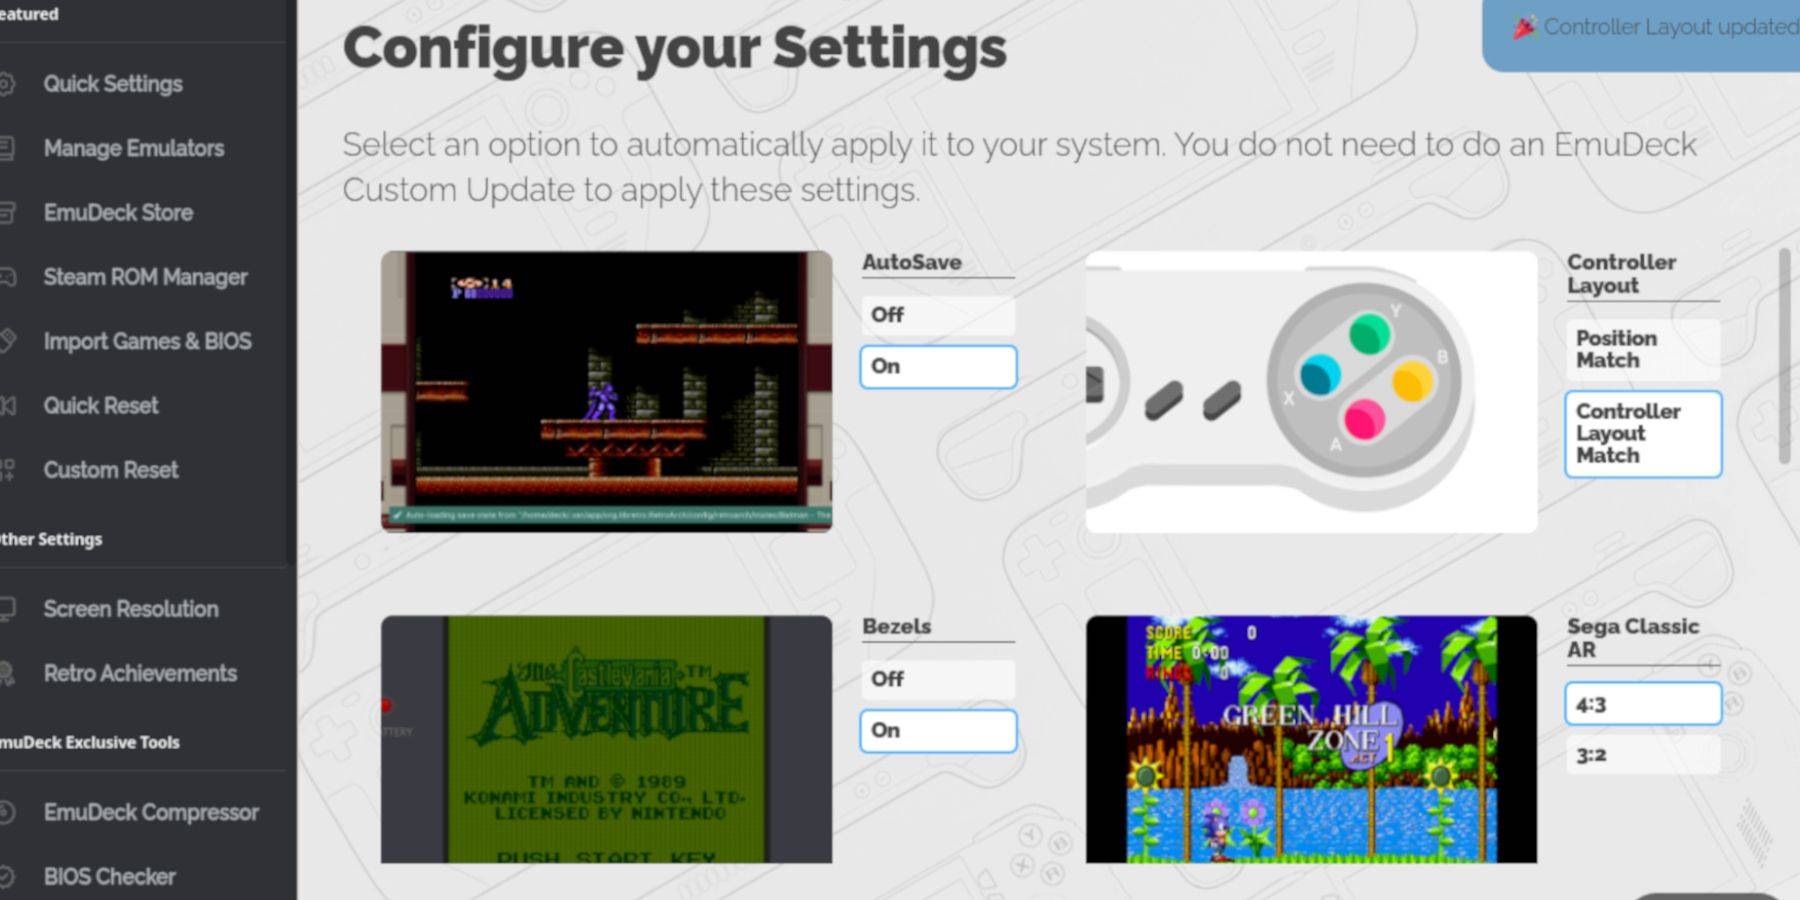 - Turn AutoSave on.
- Select "Controller Layout Match."
- Enable Bezels.
- Turn on Nintendo Classic AR.
- Enable LCD Handhelds.
Adding Game Boy Games To The Steam Deck
 With EmuDeck installed, it's time to add your Game Boy games to the Steam Deck:
- Use Dolphin File Manager to access your files.
- Click on "Primary" under Removable Devices on the left panel.
- Navigate to the "Emulation" folder, then to "ROMS."
- Find and open the "gb" folder.
- Ensure your ROMs are correctly named (refer to the table below for guidance).
- Transfer your Game Boy ROMs into this folder.
.gb
Steam ROM Manager
Once your games are in the correct folder, proceed with Steam ROM Manager:
- Reopen the EmuDeck program.
- Click on "Steam ROM Manager" in the left panel.
- Confirm to close the Steam client and click "Next."
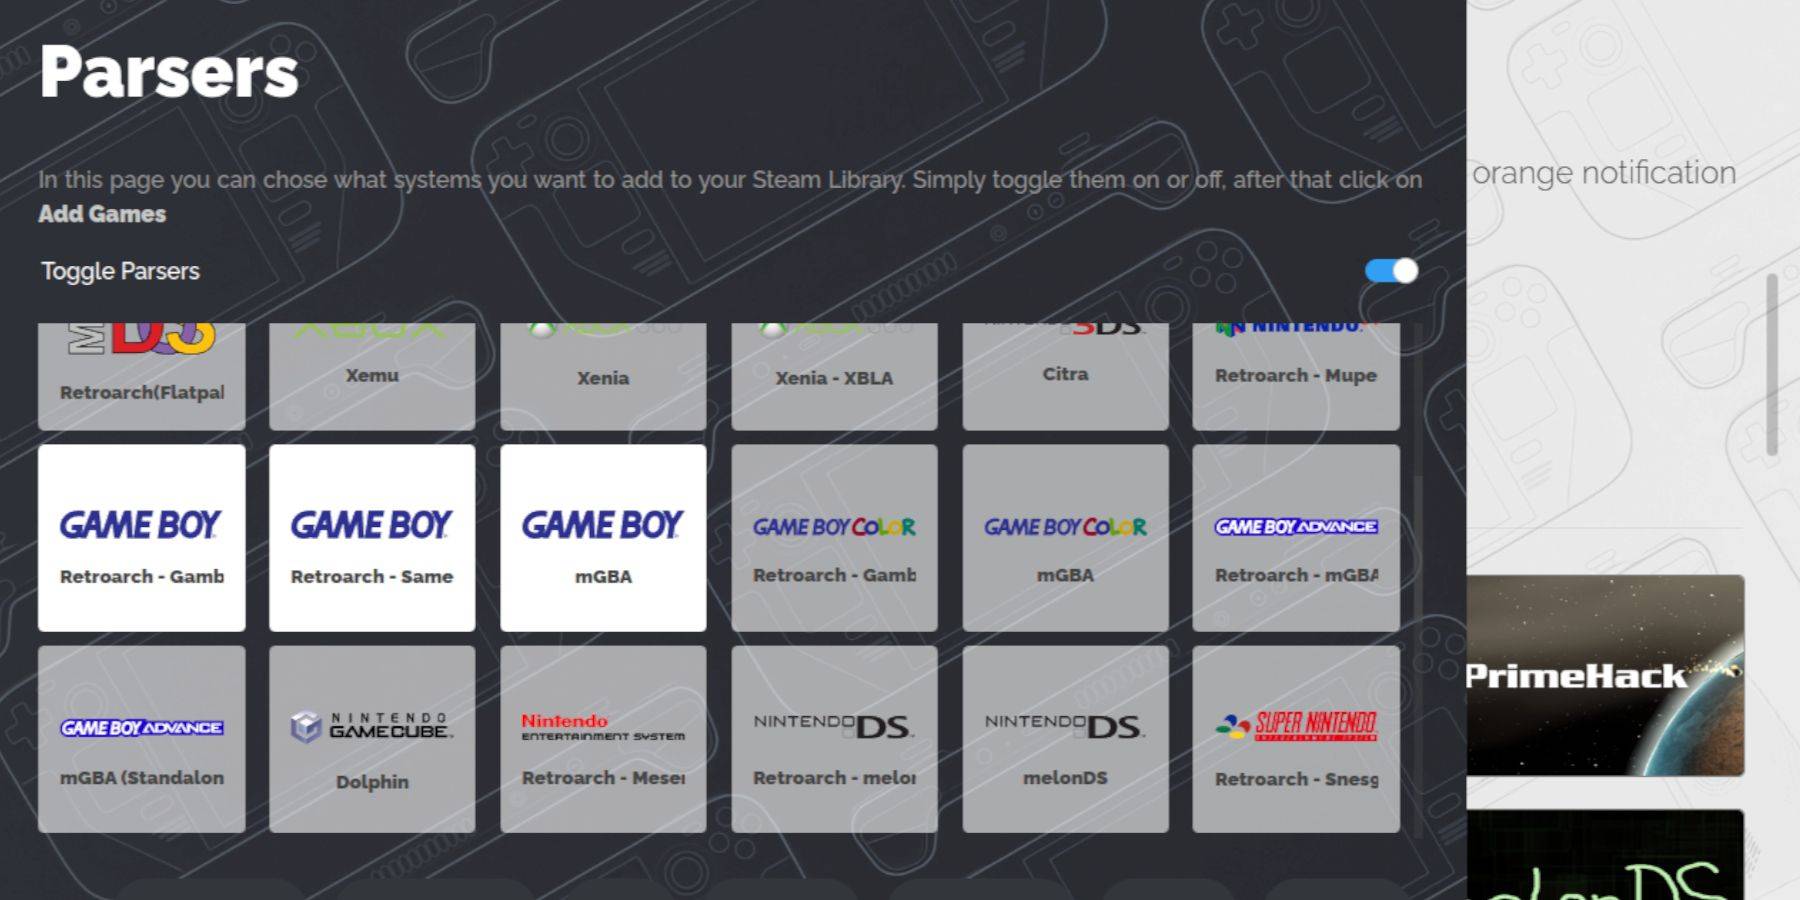
- In the Parsers screen, toggle off "Toggle Parsers."
- Click on the three Game Boy tabs.
- Select "Add Games."
- After Steam ROM Manager adds the games and their cover art, click "Save to Steam."
- Wait for the "Done adding/removing entries" confirmation and close Steam ROM Manager.
- Exit EmuDeck and return to Gaming Mode.
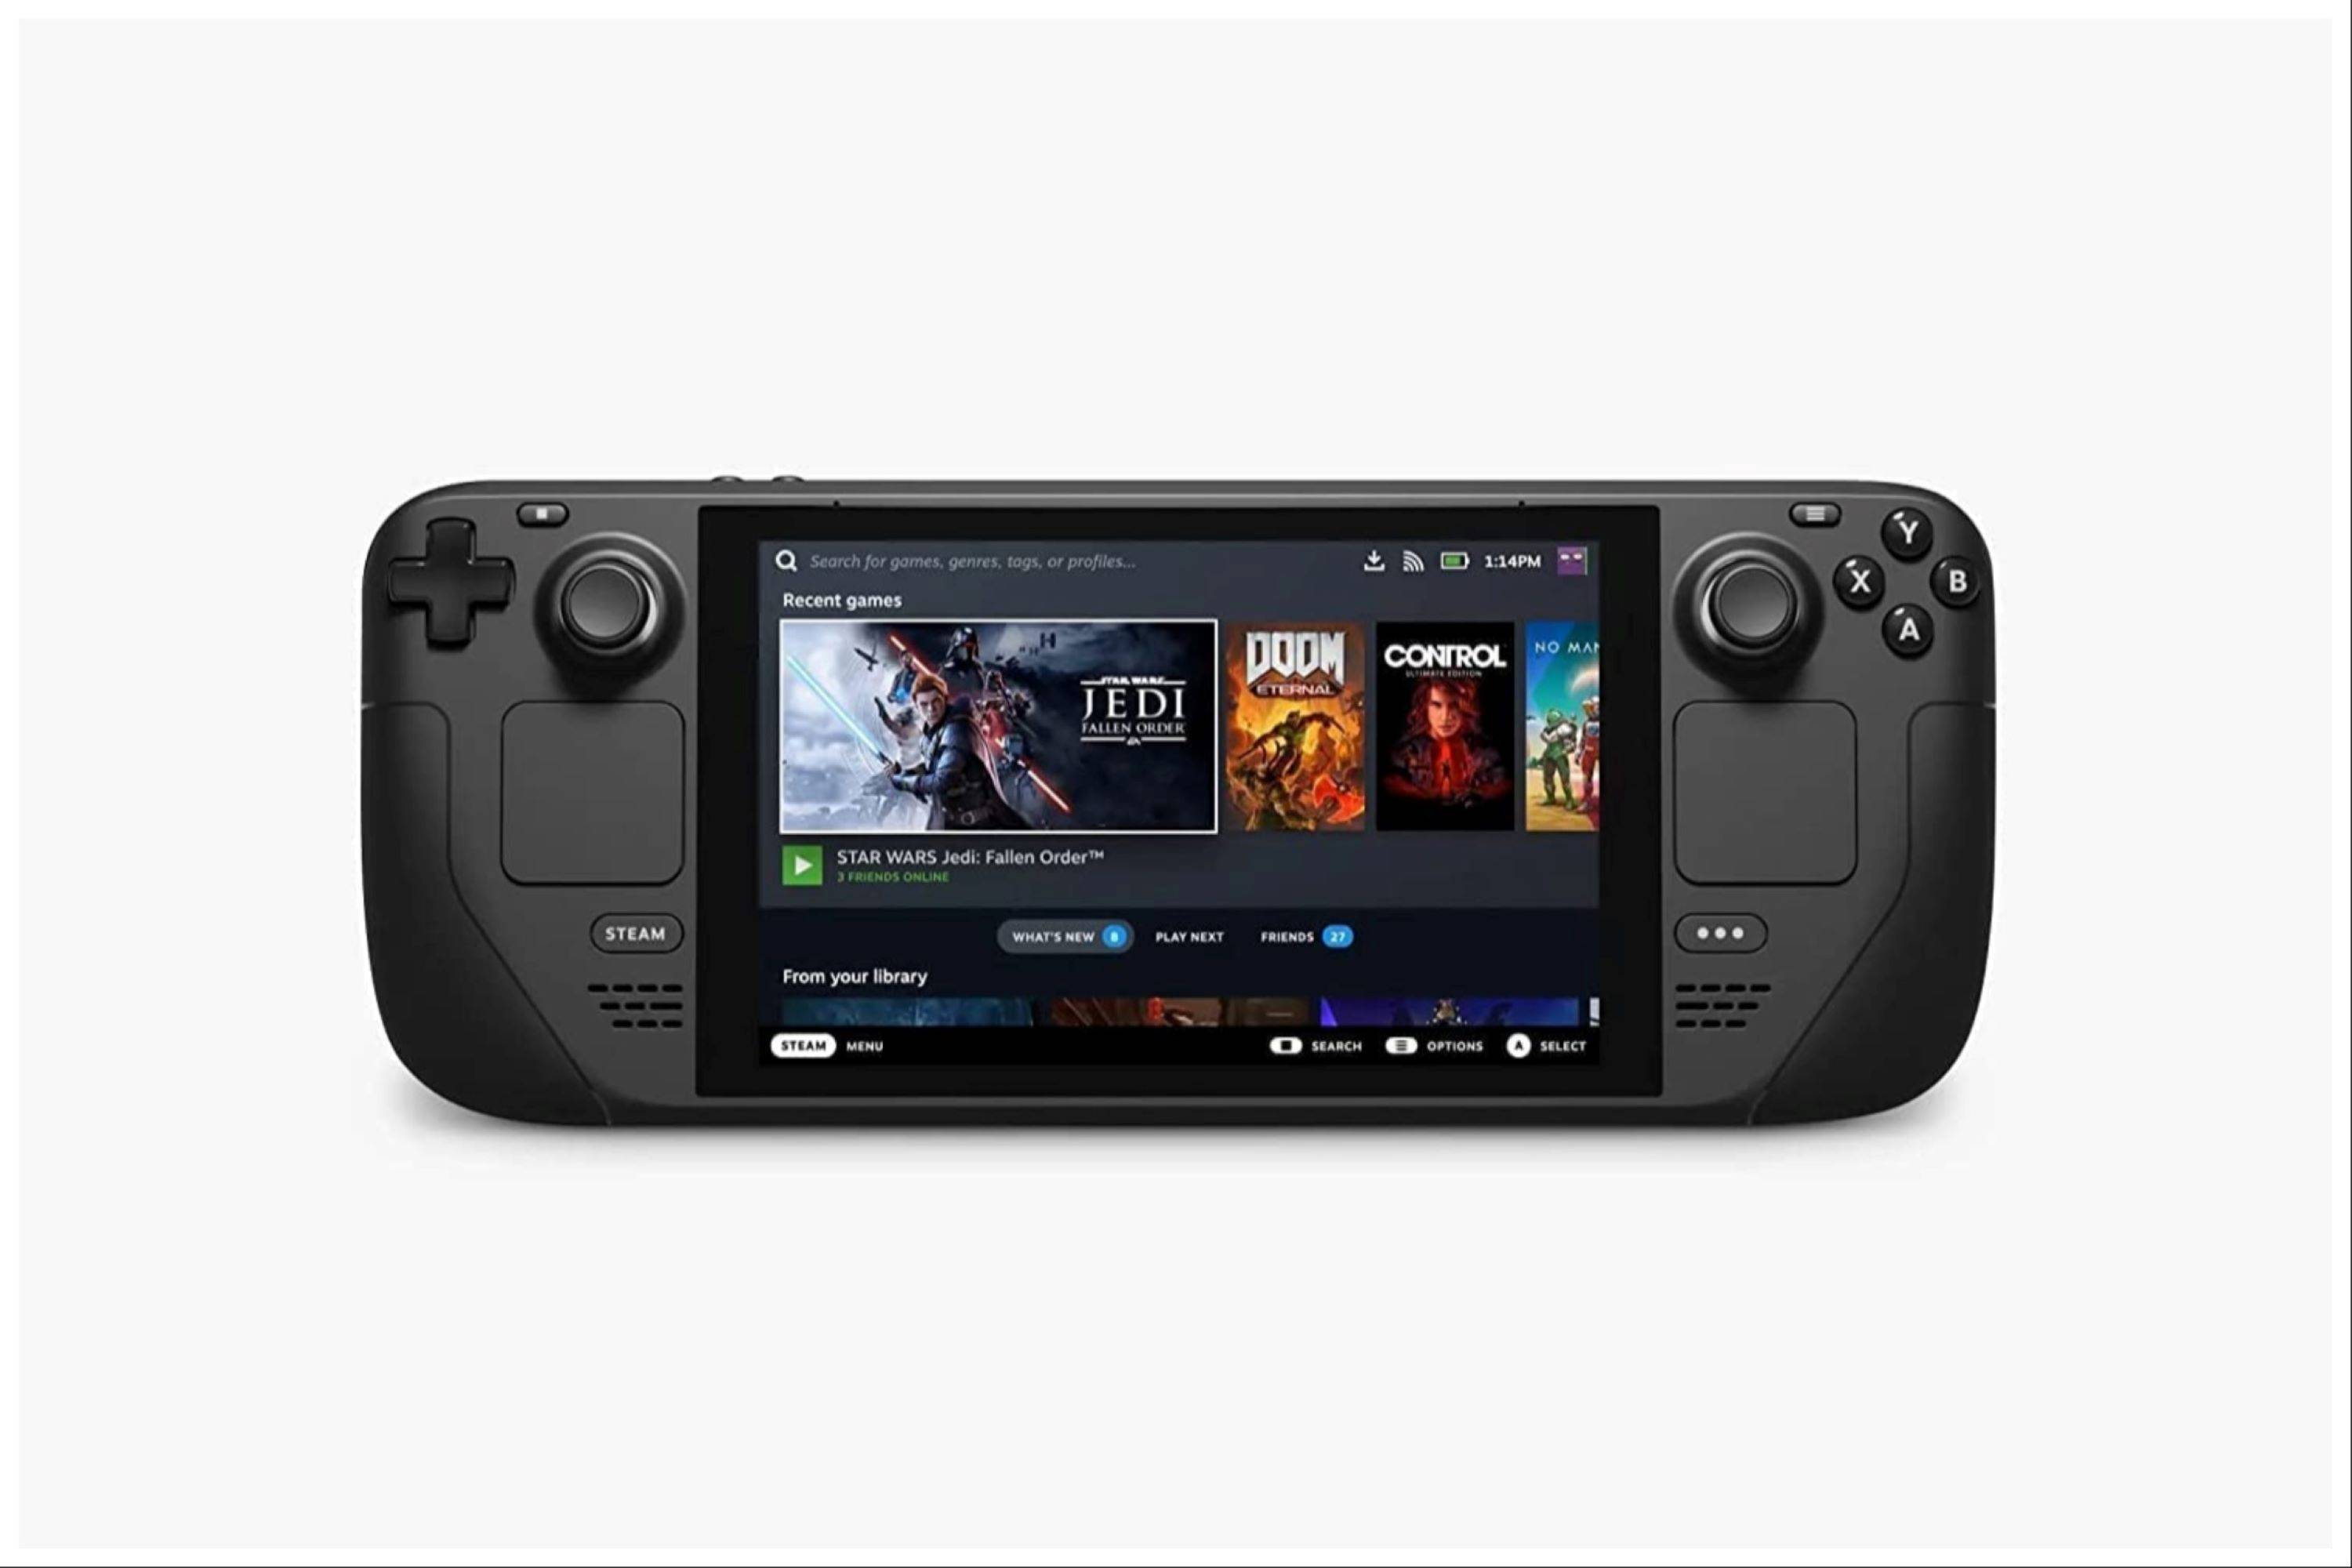
Playing Game Boy Games On The Steam Deck
With your games added, you can now play them directly from your Steam Deck library:
- Press the Steam button.
- Open the Library.
- Go to the Collections tab.
- Choose one of the Game Boy collections.
- Select a game and tap "Play."
Customize The Game's Colors
Some Game Boy games have color options, despite the original console's limitations. To customize colors in RetroArch:
Not all Game Boy games support color options.
- Launch a Game Boy game.
- Press the select button (with two squares above the left analog stick) and the Y button to open the RetroArch menu.
- Navigate to "Core Options."
- Select "GB Colorization."
- Choose "Auto" for color or "Off" for a more authentic Game Boy experience.
Using Emulation Station For Game Boy Games
 While you can launch your games from the Steam Library, Emulation Station offers an alternative:
- Press the Steam button.
- Access the Library.
- Navigate to the Collections tab.
- Select the "Emulators" window.
- Open the "Emulation Station" window and choose "Play."
- Scroll to the Game Boy icon and select it with the A button.
- Press A to start your Game Boy games.
- The RetroArch commands with Select and Y work through Emulation Station as well.
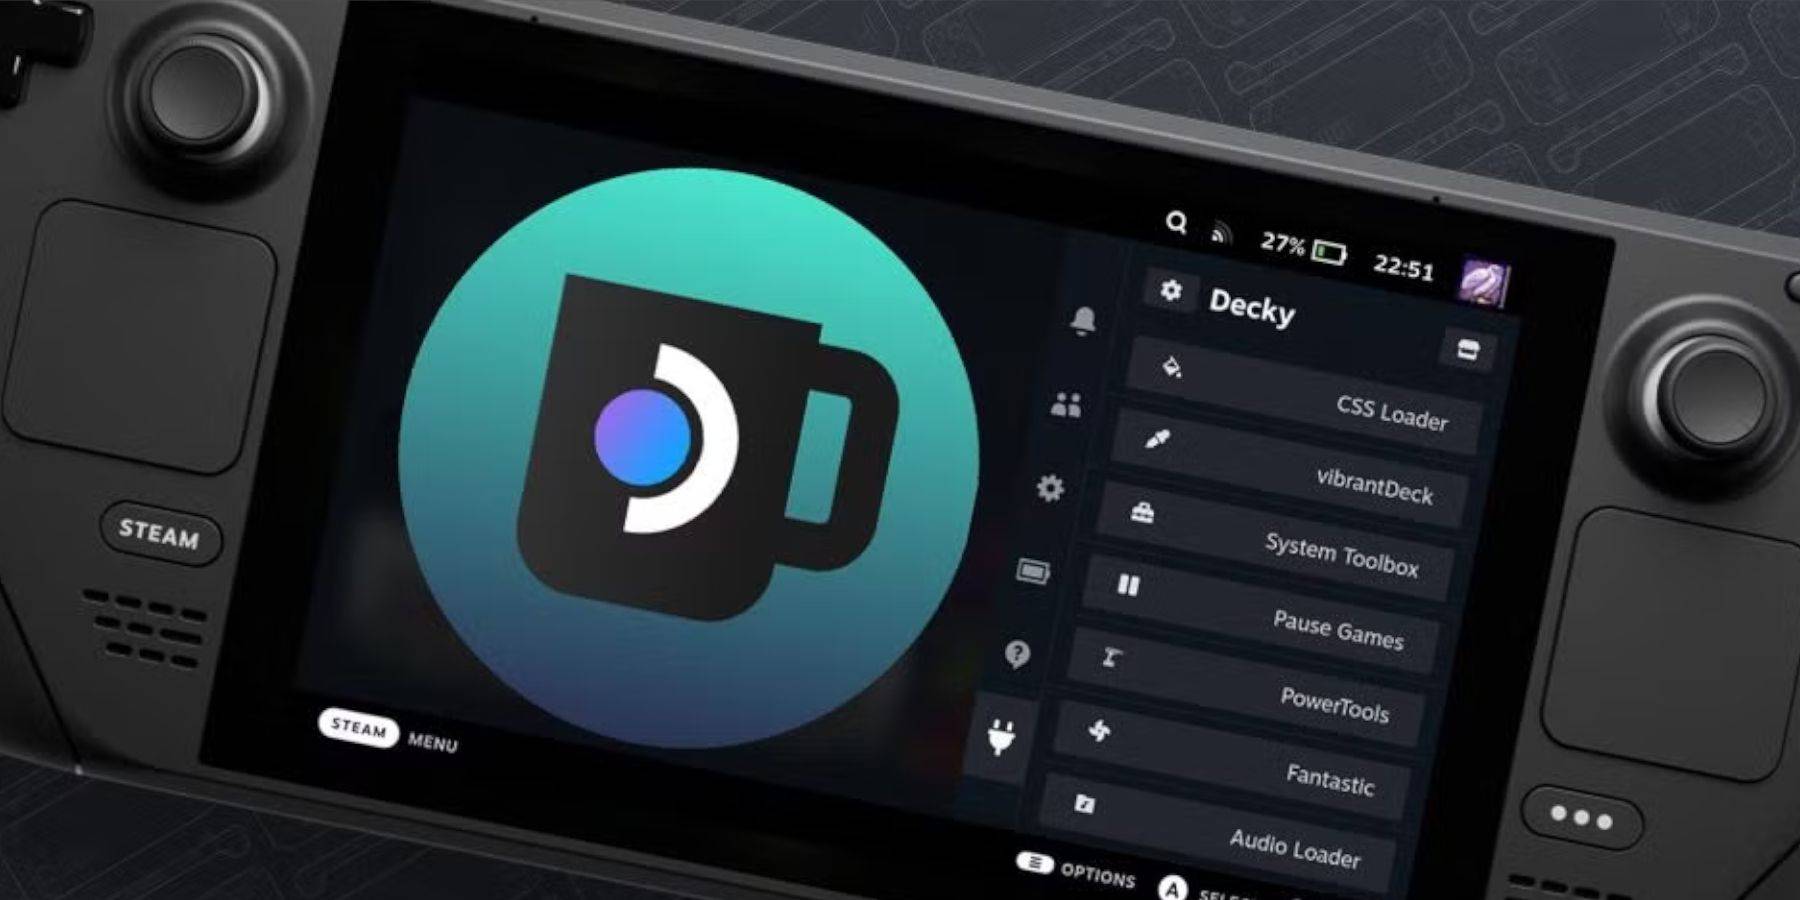
Install Decky Loader On The Steam Deck
 For optimal performance with Game Boy games, install Decky Loader and the Power Tools plugin:
For easier navigation, use a wireless or wired keyboard and mouse. If unavailable, use the onscreen keyboard and trackpads.
- In Gaming Mode, press the Steam button.
- Open the Power menu and switch to Desktop Mode.
- Launch a web browser and go to the Decky Loader GitHub page.
- Click the large Download icon to start the download.
- Once downloaded, double-click the launcher and select "Recommended Install."
- Restart your Steam Deck in Gaming Mode after installation.
Installing The Power Tools Plugin
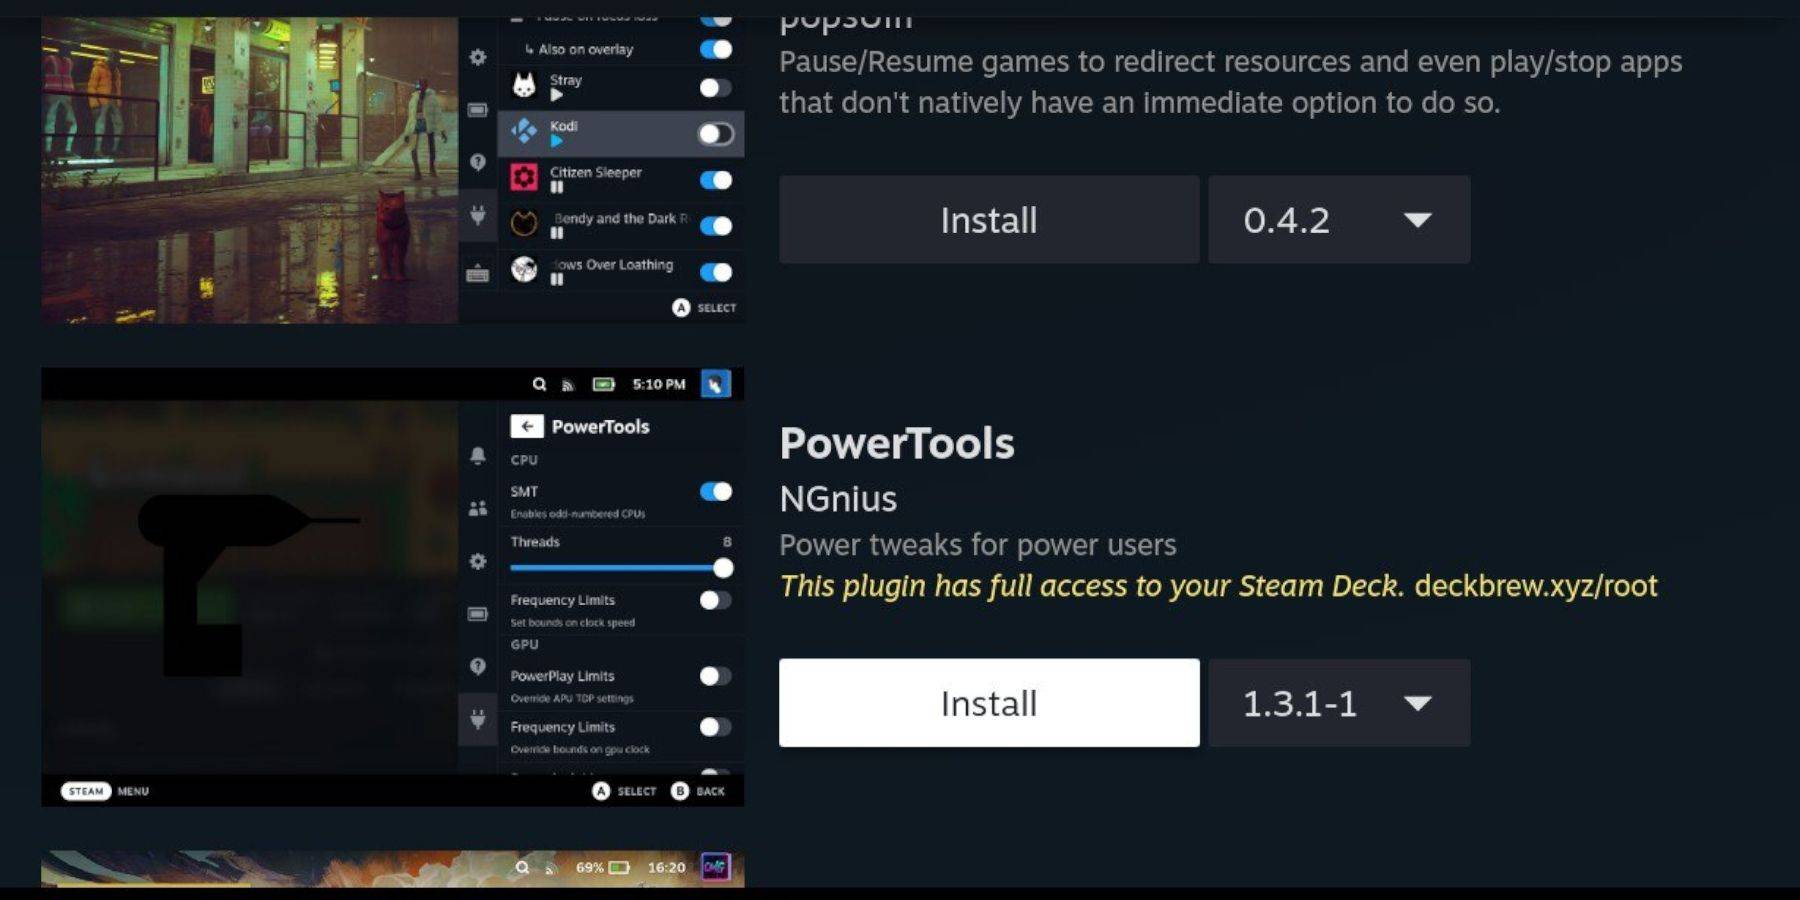 With Decky Loader installed, enhance your Game Boy gaming experience with Power Tools:
- In Gaming Mode, access the Quick Access Menu (QAM) and find the new plugin icon at the bottom of the side menu.
- Click the store icon next to the settings cogwheel to enter the Decky Store.
- Search for and install the Power Tools plugin.
Power Tools Settings For Emulated Games
To optimize your Game Boy games with Power Tools:
- Press the Steam button to open the Library and start a Game Boy game from the Collections tab or Non-Steam Library list.
- After launching, press the QAM button to access Decky Loader and select the Power Tools menu.
- Turn off SMTs.
- Set the Threads slider to 4.
- Access the Performance menu via QAM.
- Enable Advanced View.
- Turn on Manual GPU Clock Control.
- Increase the GPU Clock Frequency to 1200.
- Enable Per Game Profile to save customized settings for each game.
Restoring Decky Loader After A Steam Deck Update
 Major Steam Deck updates can affect third-party applications like Decky Loader. Here’s how to restore it and its plugins:
- Switch back to Desktop Mode via the Power menu.
- Launch a browser and revisit the Decky Loader GitHub page.
- Click "Download" to start the process again.
- After downloading, select only "Execute" and not "Open."
- Enter your pseudo password when prompted.
- If you haven't set a pseudo password, follow the onscreen steps to create one.
- Restart your Steam Deck in Gaming Mode.
- Use QAM to confirm that Decky Loader, its settings, and plugins are restored. Repeat these steps if a future update removes Decky Loader.
By following these steps, you can enjoy Game Boy games on your Steam Deck with optimized settings, making the most of its larger screen and customization capabilities.
 Rate NowYour comment has not been saved


-
1
Sakamoto Puzzle Unravels in Japan
Jan 27,2025
-
2
Arise Crossover Trello and Discord
Mar 16,2025
-
3

Slither, Compete and Outlast Your Opponents in New Game Snaky Cat
Feb 26,2025
-
4

Roblox King Legacy: December 2024 Codes (Updated)
Dec 24,2024
-
5

Roblox Forsaken Characters Tier List (2025)
Feb 25,2025
-
6
Eighth Era celebrates 100,000 downloads with a limited-time Era Vault event
Mar 17,2025
-
7

Google Play Awards 2024 winners include Squad Busters, Honkai: Star Rail, and more
Jan 09,2025
-
8

Select Quiz lets you test your knowledge across multiple topics
Mar 17,2025
-
9

Alien: Romulus 'Fixed' Terrible Ian Holm CGI for Home Release but Fans Still Think It’s Pretty Bad
Mar 03,2025
-
10
Roblox: DOORS Codes (January 2025)
Jan 07,2025
-
Download

Magnet Hero
Action / 45.6 MB
Update: Feb 11,2025
-
Download
Bulma Adventure 2
Casual / 57.55M
Update: Mar 09,2024
-
Download

!Ω Factorial Omega: My Dystopian Robot Girlfriend
Casual / 245.80M
Update: Sep 10,2024
-
4
FrontLine II
-
5
ALLBLACK Ch.1
-
6
IDV - IMAIOS DICOM Viewer
-
7
Escape game Seaside La Jolla
-
8
Color of My Sound
-
9
Mr.Billion: Idle Rich Tycoon
-
10
beat banger